-
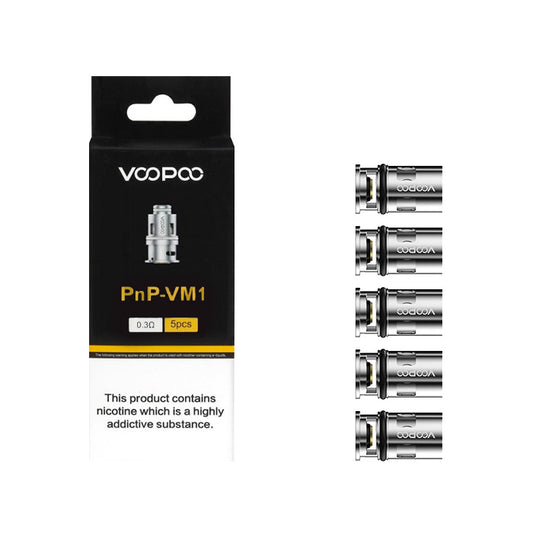 VooPoo PnP Replacement CoilsMultibuy - Save up to 10%Sale
VooPoo PnP Replacement Coils
0.15-1.2Ω 5 Pack -
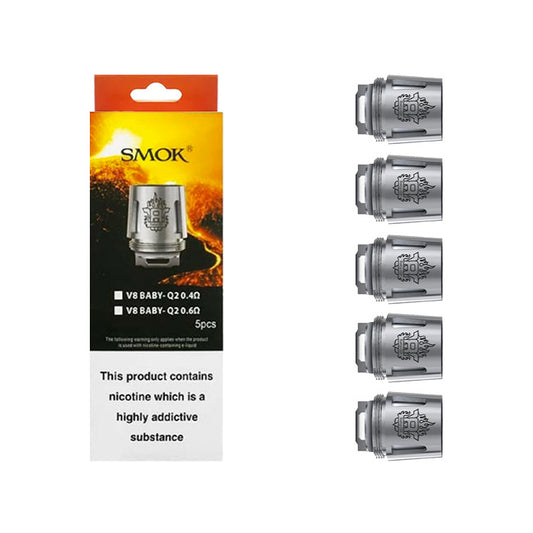 Smok TFV8 Baby Replacement CoilsMultibuy - Save up to 10%Sale
Smok TFV8 Baby Replacement Coils
0.15-0.6Ω 5 Pack -
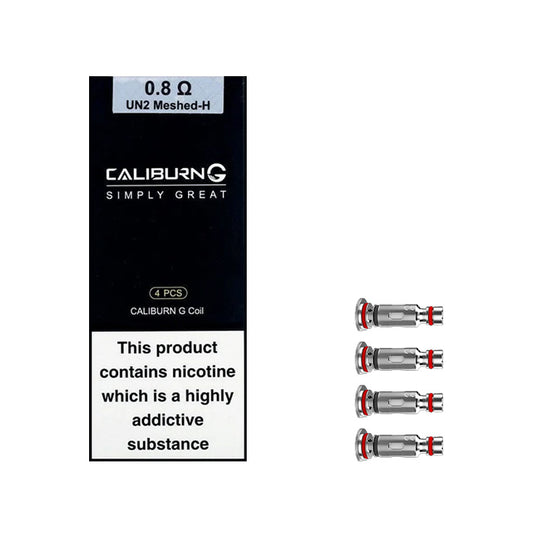 Uwell Caliburn G Replacement CoilsMultibuy - Save up to 10%
Uwell Caliburn G Replacement Coils
0.8-1.0Ω 4 Pack -
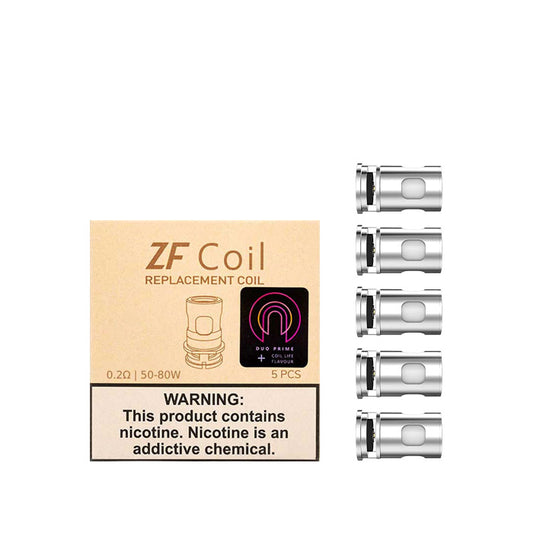
Innokin ZF Replacement Coils
0.2-0.3Ω 5 Pack -
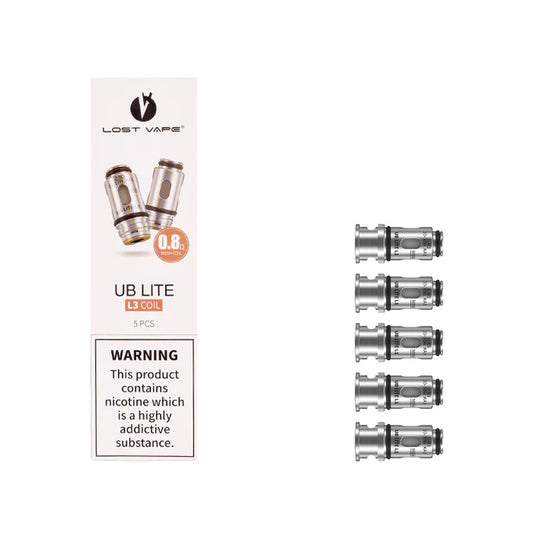
Lost Vape UB Lite Replacement Coils
0.3-1.4Ω 5 Pack -
 Geekvape Supermesh Replacement CoilsMultibuy - Save up to 10%
Geekvape Supermesh Replacement Coils
0.2-0.4Ω 5 Pack -
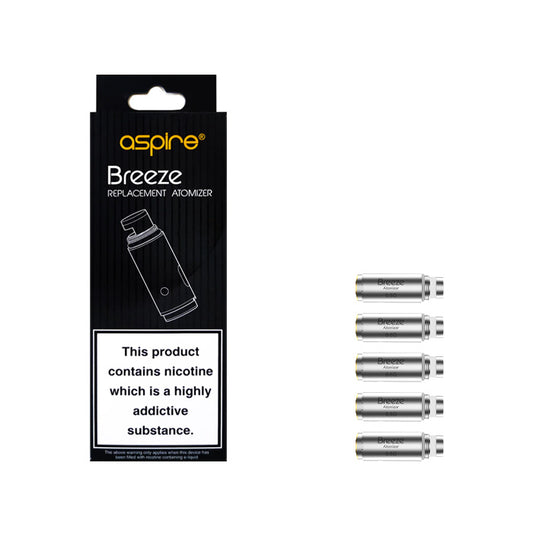
Aspire Breeze / Breeze 2 Replacement Coils
0.6-1.0Ω 5 Pack -
 Smok TFV8 X-Baby Replacement CoilsMultibuy - Save up to 10%Sale
Smok TFV8 X-Baby Replacement Coils
0.13Ω-0.4Ω 3 Pack -
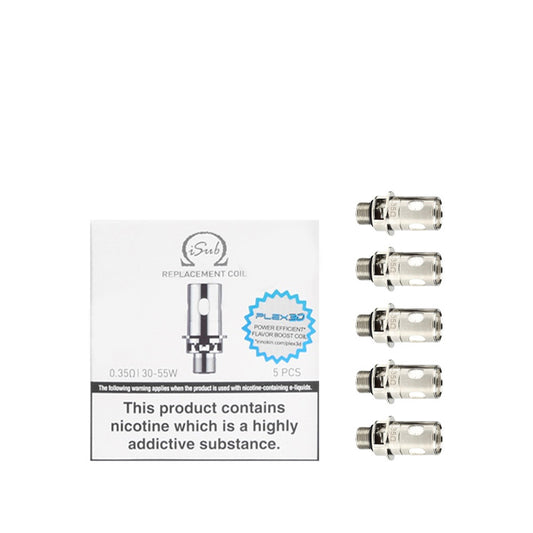 Innokin iSub Replacement CoilsMultibuy - Save up to 10%Sale
Innokin iSub Replacement Coils
0.2-2.0Ω 5 Pack -
Innokin Prism T20 Replacement Coils
1.5Ω 5 Pack -
 VooPoo Finic Replacement CoilsMultibuy - Save up to 10%Sale
VooPoo Finic Replacement Coils
0.6-1.6Ω 5 Pack -
 Innokin Scion Plexus Replacement CoilsMultibuy - Save up to 10%Sale
Innokin Scion Plexus Replacement Coils
0.13-0.36Ω 3 Pack -
 Smok RPM Replacement CoilsMultibuy - Save up to 10%
Smok RPM Replacement Coils
0.3-1.2Ω 5 Pack -
 Smok Nord Replacement CoilsMultibuy - Save up to 10%Sale
Smok Nord Replacement Coils
0.6-1.4Ω 5 Pack -
 Freemax Fireluke M Replacement CoilsMultibuy - Save up to 10%Sale
Freemax Fireluke M Replacement Coils
0.15-0.5Ω 5 Pack -
Innokin S (Sceptre) Replacement Coils
0.25-1.2Ω 5 Pack -
 Aspire Cleito Replacement CoilsMultibuy - Save up to 10%
Aspire Cleito Replacement Coils
0.15-0.5Ω 5 Pack -
 Smok TFV8 Replacement CoilsMultibuy - Save up to 10%Sale
Smok TFV8 Replacement Coils
0.12-0.2Ω 5 Pack -
OXVA Uni Replacement Coils
0.2-1.0Ω 5 Pack -
Freemax Fireluke 904L X Mesh Replacement Coils
0.15-0.5Ω 5 Pack -
Innokin Z (Zenith) Replacement Coils
0.3-1.6Ω 5 Pack -
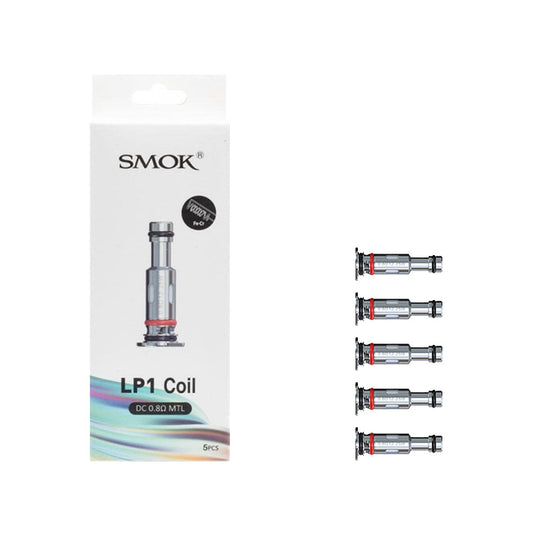 Smok LP1 Replacement CoilsMultibuy - Save up to 10%
Smok LP1 Replacement Coils
0.8-1.2Ω 5 Pack -
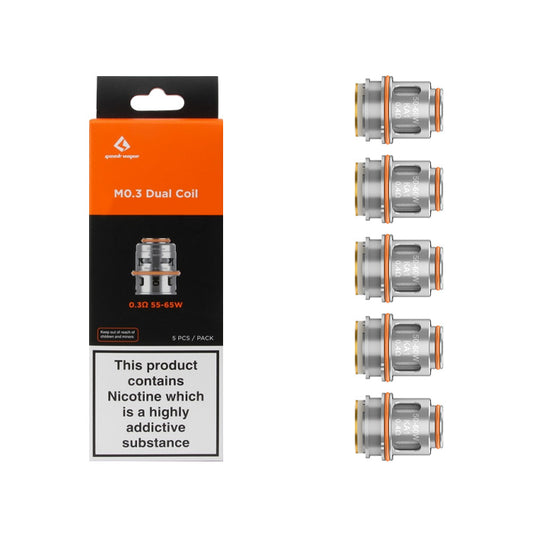 Geekvape M Series Replacement CoilsMultibuy - Save up to 10%
Geekvape M Series Replacement Coils
0.14-0.3Ω 5 Pack -
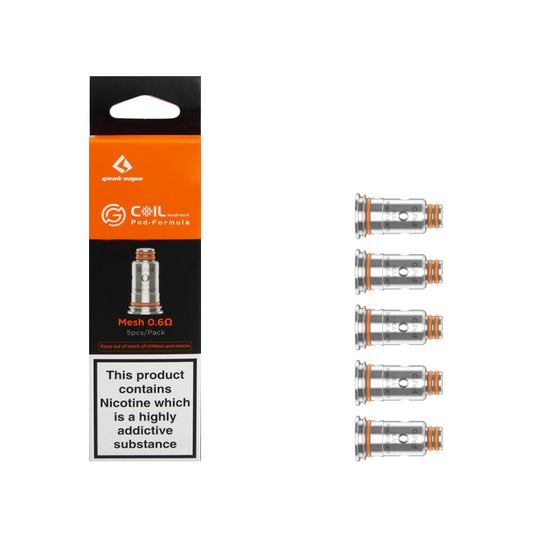 Geekvape G Series Replacement CoilsMultibuy - Save up to 10%Sold out
Geekvape G Series Replacement Coils
0.6-1.2Ω 5 Pack


Standard coils (MTL)
MTL coils have high resistance. This means that they are generally low powered (under 20 watts) and recommended to be used with e-liquid with a PG content of 50% or more. They give you a cigarette-style vape and are normally used with higher nicotine e-liquids. You would normally use these coils in pen style or pod kits.
- For Mouth to Lung vaping
- Higher resistance over 1.0 Ohms
- Ideal for thiner e-liquids or higher pg ratios
- last much longer than sub ohm coils (2-4weeks)
- Require 10-20 watt of power
- Produces less vapor
Sub-ohm coils (DTL)
Sub-ohm coil basically means that the resistance of the coil is smaller than 1.0ohm. Any coil that is below that resistance is considered a sub-ohm coil. These produce a lot more vapour than MTL coils because they work at much higher wattages. Recommended e-liquids to be used with these coils are 70% VG or higher and lower than 6mg in nicotine. Higher nicotine e-liquids do not work with sub-ohm coils as the throat hit would be too harsh.
- For Direct to lung or Sub ohm vaping
- Lower resistance below 0.9ohms
- Ideal for thicker or higher vg ratio vape liquids
- Need to be changed every 2-10 days depending on frequency of use-
- Requires over 25 watts of power
- Produces denser vapor
Ceramic coils
Ceramic coils are not as popular anymore but they still have a place on the market. They are the in-between coil sitting above MTL coils but below sub-ohm. They produce a good amount of vapour and flavour and can be used with almost any e-liquid. You may find high and low resistance coils and therefore use them at high and low powers so make sure you refer to the packaging for vaping instructions.
- Not all coils have a ceramic option
- Ceramic used instead of stainless steel wire
- Available for both MTL and DTL
- Last longer than traditional coils
Rebuildable (DIY) Coils
Rebuildable coils are coils you make yourself. These are for use in rebuildable tanks. All other types of coils are pre-assembled however, these coils consist of 2 main components: wire and cotton. You can find pre-built coils or just wires which you would have to build the coil with. Once you have your coil installed in an RDA/RDTA/RBA, you have to thread a strip of vaping cotton through it to act as the wick. This will soak up the e-liquid and hold it whilst the coil will heat up and burn the e-liquid, creating vapour. These coils need to be topped up often as the cotton will dry out within 4-5 puffs.
- Coils you make yourself using wire and cotton
- Can only be used with compatible tanks
- Best for flavour - Best for value for money
- Requires setting up every time coils needs changing
Frequently Asked Questions
A vape coil is an element within the tank that vapourises your e-liquid and creates the vapour that you breathe in. There are a few types and variations which all do different things.
A vape coil is an element within the tank that vapourises your e-liquid and creates the vapour that you breathe in. There are a few types and variations which all do different things.
Vape replacement coils do vary between size and brands, therefore they are not all the same, unfortunately. Vape tanks operate differently from one another, especially if we are comparing sub ohm and mouth to lung tanks. We recommend checking your vape kit information and making your replacement purchases accordingly. If unsure, feel free to contact our customer service team, as they will be happy to help you through electronic cigarette kit, pod, or any product concerns you may have.
Vape replacement coils do vary between size and brands, therefore they are not all the same, unfortunately. Vape tanks operate differently from one another, especially if we are comparing sub ohm and mouth to lung tanks. We recommend checking your vape kit information and making your replacement purchases accordingly. If unsure, feel free to contact our customer service team, as they will be happy to help you through electronic cigarette kit, pod, or any product concerns you may have.
The coil is your heating element within your tank or atomizer

The coil is your heating element within your tank or atomizer
Resistance is easy to understand. Ohms is the unit in which resistance is measured. The lower the resistance, the higher the power will be, and the higher the resistance, the lower the power. The higher the power, the more vapour is produced. High resistance coils are generally MTL coils (higher than 1.0ohms) that provide a cigarette-style experience and are used with higher nicotine strengths. Lower resistance coils (below 1.0ohms) are sub-ohm coils that provide you with more power and vapour and should be used with low nicotine strengths.
Resistance is easy to understand. Ohms is the unit in which resistance is measured. The lower the resistance, the higher the power will be, and the higher the resistance, the lower the power. The higher the power, the more vapour is produced. High resistance coils are generally MTL coils (higher than 1.0ohms) that provide a cigarette-style experience and are used with higher nicotine strengths. Lower resistance coils (below 1.0ohms) are sub-ohm coils that provide you with more power and vapour and should be used with low nicotine strengths.
It is time to replace your coil once you can taste burning and/or are not getting as much power and flavour anymore. When changing the coil, have a look at the cotton surrounding it. If the cotton is brown/black, you know you made the right choice to change it. Every coil lasts a different amount of time and this is also influenced by the type of e-liquid you use and your style of vaping.
It is time to replace your coil once you can taste burning and/or are not getting as much power and flavour anymore. When changing the coil, have a look at the cotton surrounding it. If the cotton is brown/black, you know you made the right choice to change it. Every coil lasts a different amount of time and this is also influenced by the type of e-liquid you use and your style of vaping.
There is a huge selection of coils available in the vape coils UK market nowadays between sub ohm and mouth to lung vaping (like smoking cigarettes). The qualities people are looking into coils are flavour and durability, as those can impact a user vaping experience in the long run. Remember coils are not interchangeable so you cant mix and match brands for your tank, If you are looking to get some sub-ohm coils ideally you should look into these brands:
- Freemax Coils: Great quality capable of lasting longer than average, while providing good flavour
- Uwell Coils: High powered coils with enhanced cloud production along with flavour
- Horizontech Coils: High flavour delivery along with great durability
- Innokin Coils: Strong durability providing well a great flavour in the long run for customer satisfaction
- Aspire Coils: Smooth heat providing great durability and good vapour
Temperature control coils are generally made from titanium, nickel or stainless steel. Those are the first indications that your coil is temperature-controlled. They can only be used with kits that have the temperature control feature. They allow you to tailor the vaping experience a little more than wattage control however, nowadays you do not see these as much.
Temperature control coils are generally made from titanium, nickel or stainless steel. Those are the first indications that your coil is temperature-controlled. They can only be used with kits that have the temperature control feature. They allow you to tailor the vaping experience a little more than wattage control however, nowadays you do not see these as much.
Your vape may taste burnt because of a few things. One reason could be that you accidentally fired the device before you topped it up with e-liquid which would have caused the dry cotton to just burn. Another reason could be because you didn't prime your coil or you didn't wait long enough for the e-liquid to soak into the coil. Priming is when you paint a few drops of e-liquid onto the cotton of the coil before you install it into your tank/pod. You should generally wait between 5-10mins before vaping after you have filled up your tank/pod that has a new coil in it.
Your vape may taste burnt because of a few things. One reason could be that you accidentally fired the device before you topped it up with e-liquid which would have caused the dry cotton to just burn. Another reason could be because you didn't prime your coil or you didn't wait long enough for the e-liquid to soak into the coil. Priming is when you paint a few drops of e-liquid onto the cotton of the coil before you install it into your tank/pod. You should generally wait between 5-10mins before vaping after you have filled up your tank/pod that has a new coil in it.
Every kit that you use will be slightly different. Generally speaking, changing the coil involves removing the old burnt-out coil and replacing it with a fresh one out of the packet. Some tanks will require you to unscrew the bottom of the tank, therefore exposing the coil which you would either pull out or unscrew, depending on the device. Other tanks/pods are easier in terms of changing the coil. Simply remove the tank/pod from your device and pull out the coil. Once your tank is empty, clean it up with some tissue and install a new coil by either screwing it into place or pushing it into place. Make sure to check your user manual which should tell you exactly what to do.
Every kit that you use will be slightly different. Generally speaking, changing the coil involves removing the old burnt-out coil and replacing it with a fresh one out of the packet. Some tanks will require you to unscrew the bottom of the tank, therefore exposing the coil which you would either pull out or unscrew, depending on the device. Other tanks/pods are easier in terms of changing the coil. Simply remove the tank/pod from your device and pull out the coil. Once your tank is empty, clean it up with some tissue and install a new coil by either screwing it into place or pushing it into place. Make sure to check your user manual which should tell you exactly what to do.
Cleaning your coil can be done however, it is not a great idea. You would need to remove it and wash it in warm water and let it dry for a good week or so until the cotton is FULLY dry. Washed coils will not last long and won't produce a great flavour so it is better to just replace them and throw away the burnt ones.
Cleaning your coil can be done however, it is not a great idea. You would need to remove it and wash it in warm water and let it dry for a good week or so until the cotton is FULLY dry. Washed coils will not last long and won't produce a great flavour so it is better to just replace them and throw away the burnt ones.
Fixing a burnt coil is only done by replacing the old burnt coil with a new one. Along with this, you should dispose of any left over-e-liquid in your tank/pod as the liquid will be contaminated and will not perform as it should.
Fixing a burnt coil is only done by replacing the old burnt coil with a new one. Along with this, you should dispose of any left over-e-liquid in your tank/pod as the liquid will be contaminated and will not perform as it should.
Priming your coil is a trick that could make your coils last longer and who doesn't want that? Before putting a new coil into your tank/pod, take your e-liquid and gently apply small drops to the exposed cotton on the outside of the coil. Repeat this a few times until you see that the coil is not soaking in any more e-liquid. You can then proceed as normal with re-instaling your new coil. This may take a couple of minutes but you will eliminate the possibility of burning your coil too quickly and it will last you more time in the long run. Have a look at our guide for priming coils.
Priming your coil is a trick that could make your coils last longer and who doesn't want that? Before putting a new coil into your tank/pod, take your e-liquid and gently apply small drops to the exposed cotton on the outside of the coil. Repeat this a few times until you see that the coil is not soaking in any more e-liquid. You can then proceed as normal with re-instaling your new coil. This may take a couple of minutes but you will eliminate the possibility of burning your coil too quickly and it will last you more time in the long run. Have a look at our guide for priming coils.